Blog | 代码显示/隐藏
缘由
最近在写技术博客时,引入的代码太多,影响观感。 在尽力减少代码量,还是有些不可或缺的代码,代码量很惊人,已经占满整个屏幕.
因为个人博客是使用hugo生成的静态博客,我刚开始想的使用原生的js和css来实现,奈何技术不足,我是做后端的,一度想放弃
后面还是在网上发现h5有个新的标签<details><summary></summary></details>可以实现显示/隐藏的功能。
最近在写技术博客时,引入的代码太多,影响观感。 在尽力减少代码量,还是有些不可或缺的代码,代码量很惊人,已经占满整个屏幕.
因为个人博客是使用hugo生成的静态博客,我刚开始想的使用原生的js和css来实现,奈何技术不足,我是做后端的,一度想放弃
后面还是在网上发现h5有个新的标签<details><summary></summary></details>可以实现显示/隐藏的功能。
配置如下:
worker_processes  1;
pid        nginx.pid;

events {
    worker_connections  1024;
    multi_accept on;
}


http {
    default_type  application/octet-stream;


    sendfile        on;
    keepalive_timeout  100;

     server {
        listen 80;
        charset utf-8,gbk;
        server_name localhost;

        location /{
            root /opt/;
		    autoindex on;
		    autoindex_localtime on;
	    }

	    index index.html; # 显示首页

        #静态文件访问
	    location ~* ^.+\.(jpg|jpeg|gif|png|ico|css|js|pdf|txt) {
            root /opt;
        }
    }
}
配置如下:
……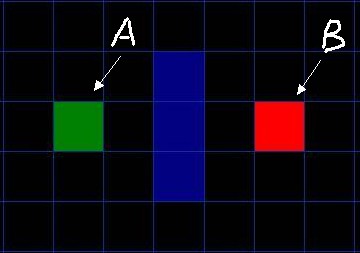
对每个格子怎么走,往哪个方向走有一个很重要的函数-估价函数, 公式如下:
……如果你的网站是wordpress,则可以参考以Darkmode.js为基础的插件:
如果你正在使用Nuxt.js,则可以使用下面的模块
使用Darkmode.js给网站快速部署上暗/浅色切换。
在网站的html中加入如下代码:
nginx.conf 的server 增加一个location:
location /upload
{
   resolver 8.8.8.8 ipv6=off;
   content_by_lua_file lua/upload.lua;
}
upload.lua
-- upload.lua
--==========================================
-- 文件上传
--==========================================
local chunk_size = 4096
local form, err = upload:new(chunk_size)
if not form then
    ngx.log(ngx.ERR, "failed to new upload: ", err)
    ngx.exit(ngx.HTTP_INTERNAL_SERVER_ERROR)
end
form:set_timeout(1000)

-- 文件保存的根路径
local saveRootPath = "./download/"
-- 保存的文件对象
local fileToSave
--文件是否成功保存
local ret_save = false
local filename = ""
while true do
    local typ, res, err = form:read()
    if not typ then
        ngx.say("failed to read: ", err)
        return
    end
    if typ == "header" then
        -- 开始读取 http header
        -- 解析出本次上传的文件名
        local key = res[1]
        local value = res[2]
        if key == "Content-Disposition" then
            -- 解析出本次上传的文件名
            -- form-data; name="testFileName"; filename="testfile.txt"
            local kvlist = string.split(value, ';')
            for _, kv in ipairs(kvlist) do
                local seg = string.trim(kv)
                if seg:find("filename") then
                    local kvfile = string.split(seg, "=")
                    filename = string.sub(kvfile[2], 2, -2)
                    if filename then
                        fileToSave = io.open(saveRootPath .. filename, "w+")
                        if not fileToSave then
                            ngx.say("failed to open file ", filename)
                            return
                        end
                        break
                    end
                end
            end
        end
    elseif typ == "body" then
        -- 开始读取 http body
        if fileToSave then
            fileToSave:write(res)
        end
    elseif typ == "part_end" then
        -- 文件写结束,关闭文件
        if fileToSave then
            fileToSave:close()
            fileToSave = nil
        end

        ret_save = true
    elseif typ == "eof" then
        -- 文件读取结束
        break
    else
        ngx.log(ngx.INFO, "do other things")
    end
end
if not ret_save then
    ngx.say("save file error")
    return
end

filename = saveRootPath..filename
ngx.say("save file success filename: " .. filename)
$ curl -X POST -F 'data=@foo.txt' http://127.0.0.1:9001/upload
更改目录所有者命令
……改造类CapturerTrackSource
RcrtcDesktopCapturerTrackSourcewebrtc::DesktopCapturer::Callback, 用于桌面数据捕获与回调rtc::VideoSourceInterface<webrtc::VideoFrame>, 用于rendered_track_->AddOrUpdateSink(this, rtc::VideoSinkWants());
添加class VideoRenderer : public rtc::VideoSinkInterface<webrtc::VideoFrame> 的回调详细代码:
……国内镜像:https://webrtc.org.cn/mirror/
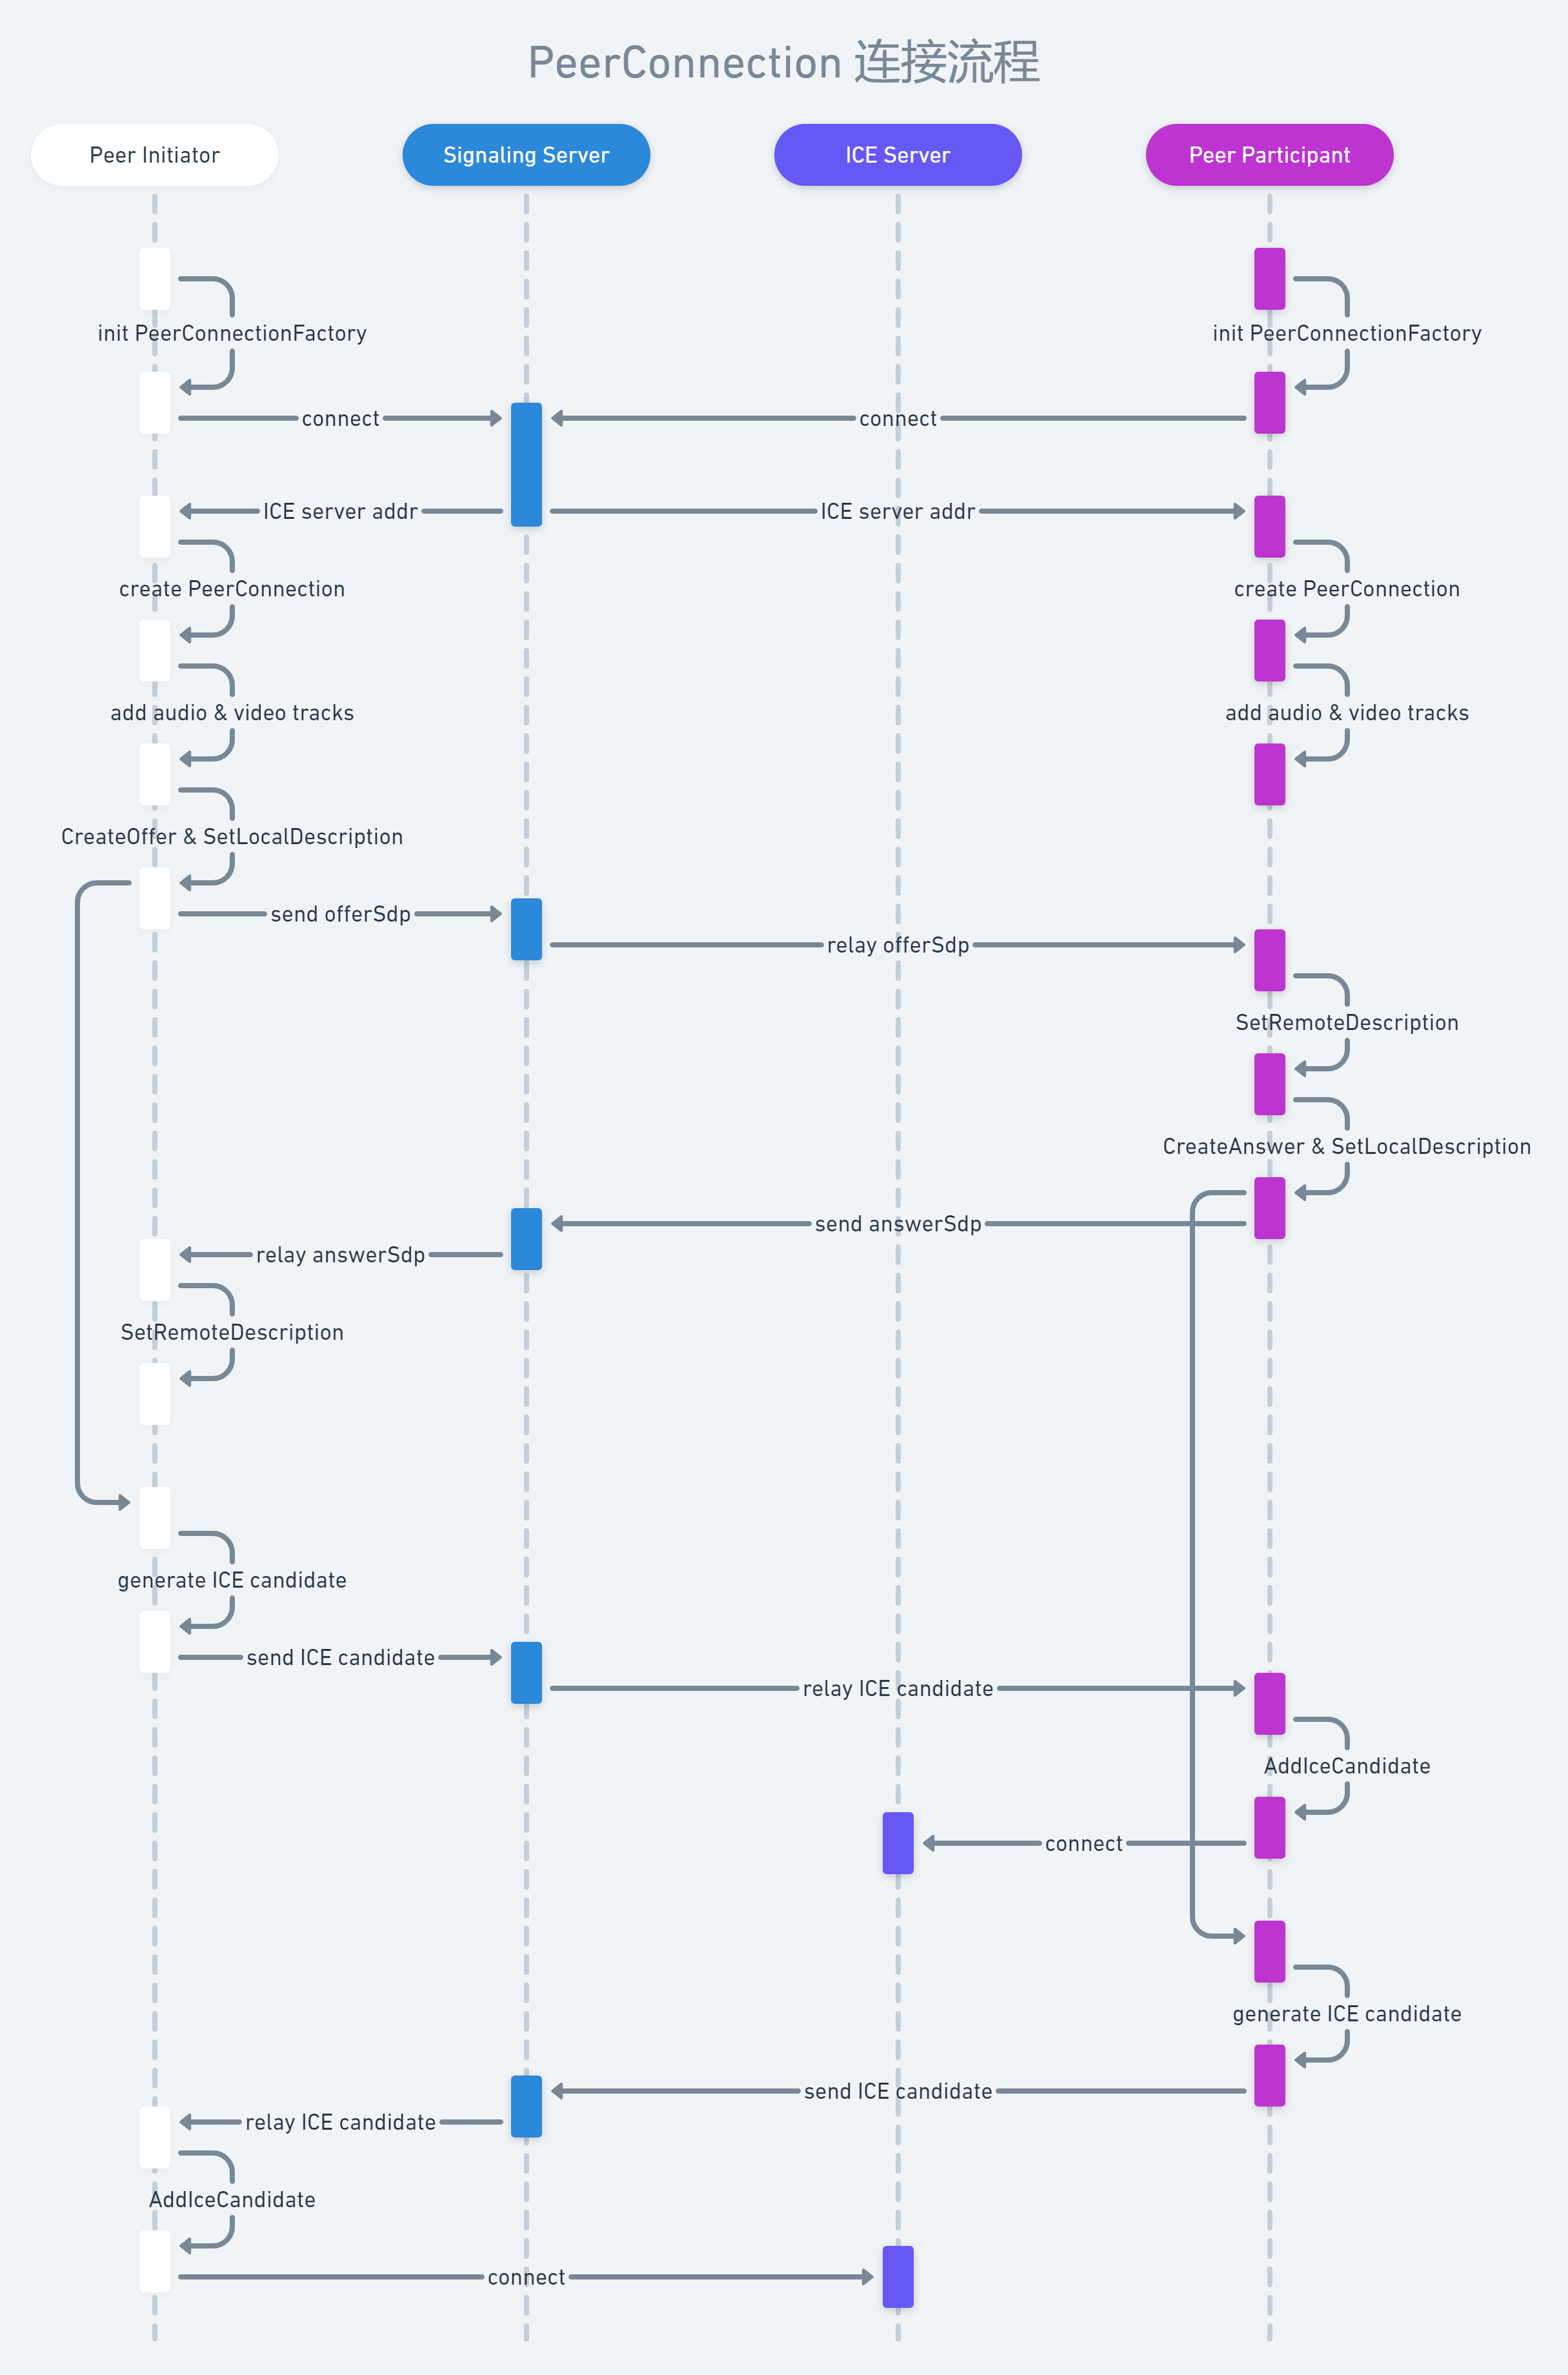
通过peerconnection的例子来分析webrtc的交互流程
media/base 和media/engine,WebRTC中抽象了VideoSourceInterface和VideoSinkInterface这两个模板类分别表示生产和吸收视频流。VideoSourceInterface,此接口类暴露了 AddOrUpdateSink 函数,可以将 Sink 注册给 Source。VideoSinkInterface,此接口类暴露了 OnFrame 函数。只要将 Sink 通过 AddOrUpdateSink 函数注册给 Source,
那么 Source 就会通过 OnFrame 接口将数据传给 Sink。PeerConnection例子,其VcmCapturer类继承了VideoSinkInterface,TestVideoCapturer类继承类VideoSourceInterface<VideoFrame>信令交互主要是PeerConnectionClient这个类
初始化socket连接跟 绑定回调
上文Go-libp2p三 | relay例子已经分析过relay例子,并解释了两个节点如果通过中继服务进行通信。本文改造relay例子 并让这个服务做如下两件事:
我是看到源码中有hole punching协议,我是看了测试用例后才明白的。 利用libp2p的hole punching协议,NAT穿透打洞。打洞成功后进行p2p传输
我的个人博客已经搭建好了,使用的hugo+飞雪的主题。我看到有些博客上有些随机的名人名言,但是这个主题没有。遂自己写一个。
飞雪主题的github: https://github.com/flysnow-org/maupassant-hugo
复制主题里的文件themes/maupassant/static到自己的博客根目录下。新增文件static/js/quotes.json,内容于下: